Fondant Icing
My second challenge is not about baking, but about decorating. After a shopping spree at the lovely little cake decorating shop, I was ready to start experimenting with fondant icing, or sugar paste. For my first attempt I used ready made sugar paste, but next time I will try to make it myself.
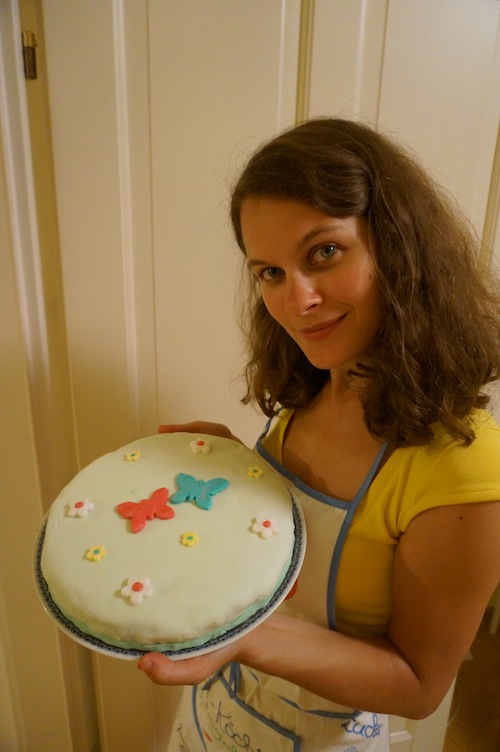
So, here is my Midsummer Cake (chocolate genoise with white chocolate buttercream and fondant icing):
First off, let me say how much fun working with sugar paste is!
It’s basically edible play dough!
None the less, I wouldn’t recommend making your first experiments with it in 35°C… you want it soft, but mine became a little too soft, making it incredibly sticky and a little difficult to handle.
So, here’s what you do to cover a cake with fondant icing:
1.) Cover your cake with a thin layer of buttercream and put in the fridge for about 10 minutes, or until the icing has set. This is to bind the crumbs, so that they won’t get in your way and form bumps later. Cover the cake with a second, thicker layer of buttercream.
2.) Knead your fondant to make it soft and pliable. If you want to colour it, this is the moment put the food colouring in.
3.) Sprinkle your pastry board with icing sugar and roll out the fondant. Make sure you don’t roll in one direction for too long, keep moving the fondant so that it doesn’t stick to the pastry board. You need to roll out a circe that is big enough to cover your cake and form a little skirt around it. So, the diameter plus the hight of your cake, plus an extra few centimeters. You can keep any excess icing for reuse, just wrap it in cling film or put it into a sealed plastic bag.
4.) When you’ve rolled out the fondant, take a non-stik rolling pin (or a normal rolling pin dusted with icing sugar) and roll the icing onto it. Then roll it over the top your cake.
5.) Gently smooth out the icing on top of the cake with an icing smoother (or your hands, if you don’t have one), then go around the sides, pulling a little at the excess icing to get rid of air bubbles and prevent it from forming creases. This is the trickiest bit which myself have not yet perfected. Just keep practicing, I suppose…
6.) Cut off the excess icing with a sharp knife – and there is your fondant covered cake!
Now the decorating fun can begin…!
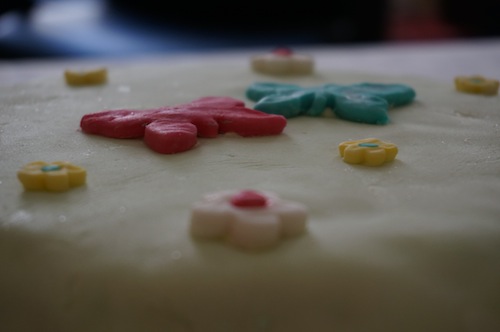
I simply used more of the fondant icing to make the decorations. I’ve heard that it’s better to use gum paste, as that dries quicker, making the decorations more stable. The sugar paste worked fine for me, although it was a little tricky to handle, particularly with the smaller decorations. For the shapes I used a simple butterfly cookie cutter and a blossom plunger cutter in two sizes made by PME arts and crafts (http://www.knightsbridge-global.com/). To stick your decorations to the cake, simple use a bit of buttercream as glue.
I know that fondant icing is generally considered to be pretty at the expense of taste – but I disagree. When I bit into that cake I not only enjoyed the taste, but was suddenly transported back to my childhood, images of colourful birthday cakes and party bags and balons filling my head. So, I declare myself to be a fan of fondant icing: it’s pretty and yummy and fun!
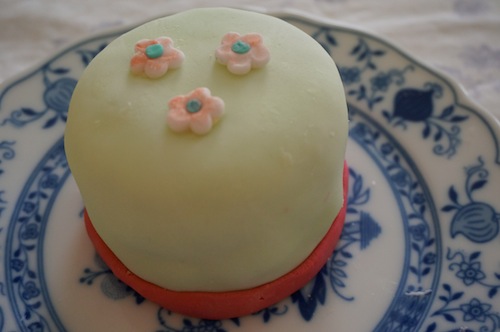 Baby Fondant Cake